10 Self-Tanner Mistakes To Avoid For An Evenly Bronzed Glow
Self-tanners may be the greatest invention ever. Okay, that might be an exaggeration, but how awesome is it that you can get that perfect sun-kissed glow at any time of the year without exposing your skin to any harmful UV light and risking sun damage? While going to a salon for a spray tan is great, it can be expensive to maintain and time-consuming. Thankfully, there is an endless array of self-tanners available to use at home that let you control when and how often you want to get your glow on.
Self-tanners have come a long way over the last few years. According to Fortune Business Insights, the industry is estimated to be worth more than $1 billion and growing, thanks to people searching for a healthy alternative to baking in the sun or using tanning beds to get that sun-kissed glow. Although brands have produced products available for all skin types and skin tones, they're not foolproof.
Those who use self-tanners no doubt have stories of streaked, patchy, and uneven skin. The good news is with just a bit of preparation and planning, you can avoid any of those problems and look like you just got back from a relaxing beach vacation. Here are 10 self-tanner mistakes to avoid for an even, bronzed glow.
Not prepping your skin first
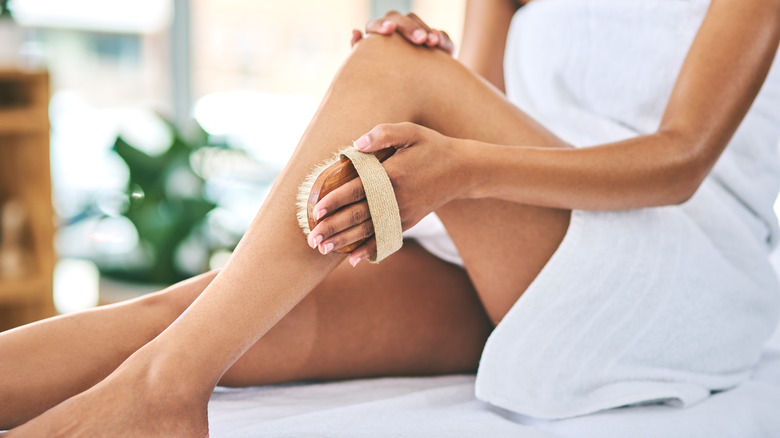
Whether you're choosing to tan at home or a salon, proper skin preparation is crucial in getting that gorgeous sunless glow you're looking for. Properly exfoliating your skin before applying your self-tanner will help assure a nice, even tan that will not only last but fade uniformly.
Timing your exfoliating is just as important as doing it in the first place. "You need to exfoliate either eight hours or just before self-tan application," Sophie Evans, celebrity spray tan expert and brand ambassador to St. Tropez Tan, explained to Glamour. "If you want the very best result, exfoliating eight hours before allows skin's pH balance to neutralize, which is the ideal condition for the color to develop."
You can use a scrub or exfoliating product to get rid of any dead, dry skin, or if you're in a pinch, you can simply use a washcloth, focusing on areas like the elbows and knees where the self-tanner tends to streak and stain. All exfoliating products aren't created equal when it comes to self-tanning prep, as spray tan pro Kristyn Pradas also explained to Glamour. Avoid oil-based scrubs as "the oil can create a barrier between skin and self-tanner," Pradas explained. "You'll be left with weird marks and both dark and light spots."
Choosing the wrong formula
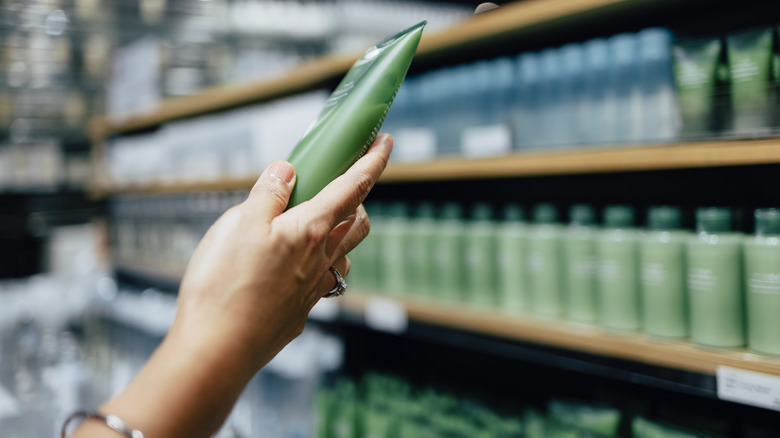
Choosing the right formula for your skin is an important step in ensuring that gorgeous, streak-free glow of your dreams. That means that just because one product works amazing for your friend or family member doesn't mean it will automatically work for you. Many self-tanner brands have created products for every skin type, tone, and texture, so whether you have oily, dry, combination, or sensitive skin, there's a product for you.
The key to a truly great tan is making sure you use a product tailored to your specific skin problems or concerns. For example, if you have sensitive skin, you'll really want to pay attention to the ingredients to ensure you don't have an adverse reaction.
"Seek out a tan which clearly states that it uses naturally-derived ingredients and skin-enriching ingredients like argon oil and coconut water," Kirstie Kirkham, the founder of MineTan, explained to Elle Australia, adding that if you tend to have oily skin, you'll want to avoid any tans that are oil-based. If you suffer from dry skin, seek out a product that is hydrating, especially since self-tanners can dry out the skin.
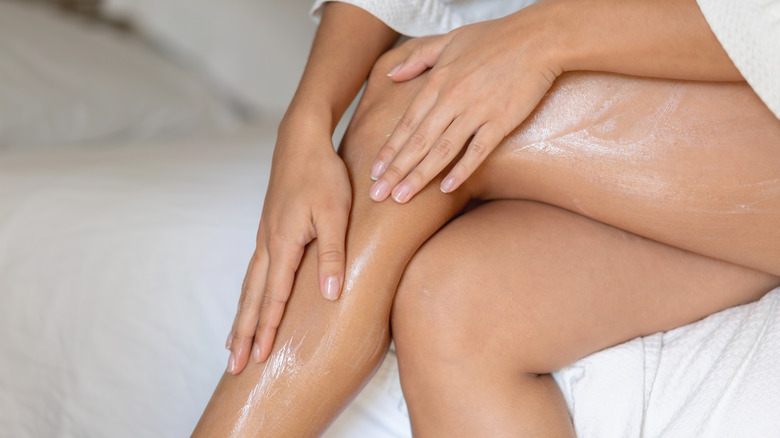
Not moisturizing enough
Another key to a gorgeous self-tan glow is well-hydrated skin, which means you're going to want to pay a lot of attention to how much you're moisturizing your skin well before and after your self-tan.
The details of this step tend to vary from person to person, as those with dry skin may prefer to apply a thin coat of moisturizer on their skin right before self-tanning. Those who do not have dry skin concerns typically benefit from skipping the moisturizer altogether and simply applying it to any area where they have slightly rough, dry patches or areas with thicker skin, like the knees, elbows, and ankles.
In the days following your tan, you'll want to apply moisturizer daily. For maximum benefits, apply your moisturizing products after your shower when your skin is still wet for optimal hydration. Not only will this keep your skin looking gorgeous and healthy, but it will also help your tan fade evenly.
Choosing the wrong shade
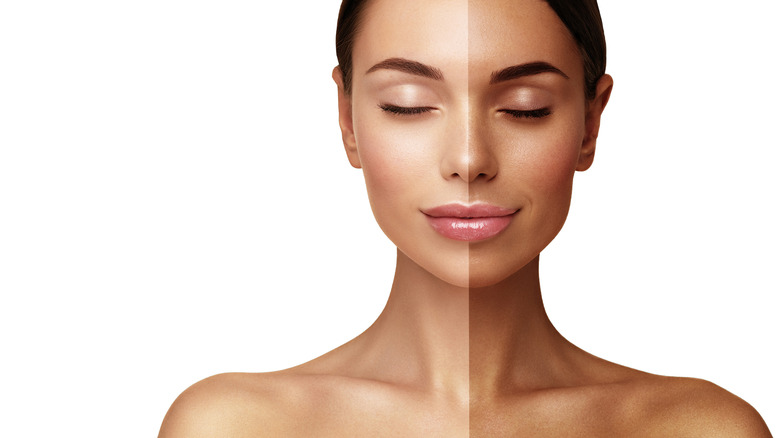
Not all self-tanners are created equal, nor are they created for the same skin shade or type, so choosing the one that is made for your particular skin is an important step in ensuring you are happy with the outcome. Whether you want just a hint of color or to look like you've just returned from a week-long beach vacation, choosing the right shade of self-tanner is crucial in creating a natural-looking glow.
Kirstie Kirkham explained to Elle Australia that choosing the right shade can impact how happy you are with the final results. "The golden rule with fake tan is to never go so dark that it looks, well, fake," she noted. "If you have red hair and fair skin, we recommend two to three shades darker than your natural skin tone. If you have a naturally dark or deep complexion, three to four shades darker, and you'll have a beautiful tan that doesn't look unnatural."
It's always a good idea to do a patch test first to see how the self-tanner you've chosen will develop on your skin to ensure you're happy with the final results and save yourself any frustration you may experience if the shade isn't what you were hoping for.
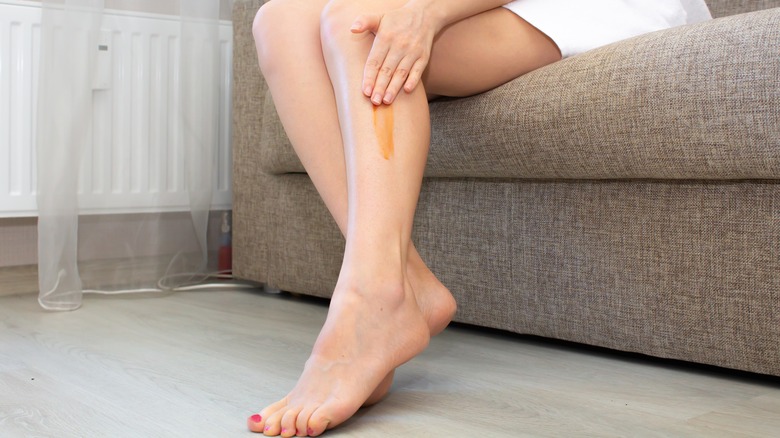
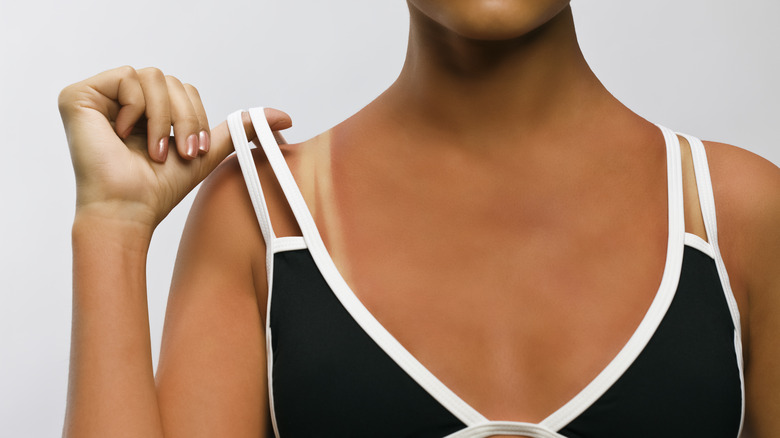
Applying unevenly
Although many of us have probably thrown a bit of self-tanner on our arms or legs in a hurry to add a bit of color before an event, to achieve a truly seamless and streak-free tan, evenly applying your self-tanner everywhere is important.
"I find that a lot of 40-plus women don't tan their whole bodies, but it takes just a few more seconds to do so," Sophie Evans, St. Tropez tanning and skin finishing expert, explained to Prevention magazine. "When your whole body is one uniform bronzed color, you will look slimmer and feel and look more confident — even if no one else sees you naked."
Applying your self-tanner all over your body will also help create a uniform canvas for future applications and prevent any of those pesky, tell-tale tan lines. It might be helpful to use a self-tanner with moisturizing properties — maybe even a gradual tan moisturizer — to maximize your self-care time. Not only will you get an all-over glow, but you'll be pampering your skin at the same time.
Not choosing a tinted option
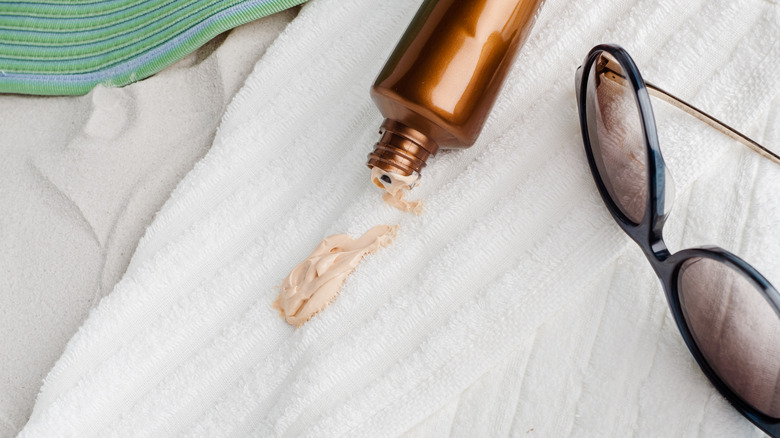
There are a lot of self-tanning products available for purchase, and it can be overwhelming when choosing which one is best for your skin. Whether you're a self-tanning rookie or a regular user, many experts suggest picking a product that's tinted for the best application. Tinted products help you see where you've applied your self-tanner and act as a guide to ensure you're applying the product evenly.
These tined products, which have bronzer in them, allow you to easily spot where you may have missed applying the product, as well as any streaks or patches that may be forming before it's too late. A tinted lotion also allows you to immediately see any spots that may have too much self-tanner or not enough.
Not to mention using a tinted option gives you a hint of color while you wait for the tanner to develop, which is a nice bonus. There's nothing worse than seeing those missed spots once your self-tanner has fully developed, and using a tinted product can help avoid those moments.
Using too much product
Once you've got your skin prepped and you're ready to apply your self-tanner, it isn't uncommon for some people to get a bit overzealous when applying, especially if this is your first time using a particular brand or you're eager to look like you've just spent days on end in the tropical sun. If you want your tan to look natural, you may want to be careful about how much product you use, especially if this is your first-time self-tanning.
"A gradual tan is great for first-timers or for someone who just wants a subtle glow," James Read, self-tanning expert and founder of James Read Tan, explained to Prevention. Using too much product can also be an issue on those rougher skin areas like your ankles, elbows, and knees. These areas tend to be drier than other areas of your body, and using too much product can result in streaks or darker patches on your skin, even if you took the time to exfoliate and hydrate.
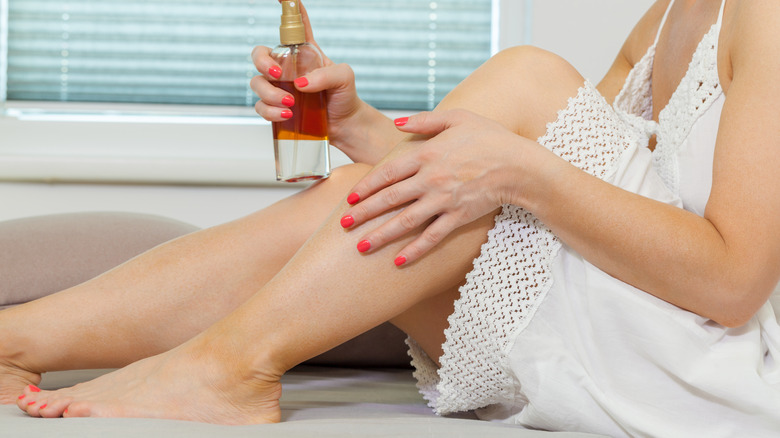
Fortunately, there are ways to correct a tan that may be too dark. Read suggests applying baby oil for about 10 minutes before taking a hot shower and gently exfoliating the skin to help tone down your tan. You can always layer on more self-tanner if you find your initial application to be too light, which is often easier than fading a tan that is too dark because you used too much product.
Not using enough product
While you don't want to use too much product when applying your self-tanner, you also don't want to use too little either. It's all about balance. Those who are new to self-tanning or are afraid of going too dark too soon may prefer using a lighter hand when applying the product, but this can lead to the exact opposite result.
A small amount of product cannot completely cover an entire, larger area. By attempting to do so, in the hopes that your tan won't develop too dark, you'll be left with a streaky, not-so-seamless tan. You want to ensure you are using an appropriate amount for each section.
How much product you'll need will depend on what area of your body you are tanning, but you'll want to make sure you're using a liberal amount that will easily cover the area. "Work on one section at a time, applying the tanner in light, long vertical strokes until smooth and even," Moe Kittaneh, founder of skincare line Svelta Beauty, explained to Byrdie. "Apply sparingly to feet, ankles, knees, elbows, neck, face, and hands, but be sure to touch on all exposed areas for a natural-looking glow."
Tanning over an old self-tan
We've all been in those situations where we're in a hurry and choose to apply a fresh coat of self-tanner over an old self-tan, and most of us quickly learned what a bad idea that is. When you don't take the time to remove your older self-tanner, you risk an uneven and streaky tan that will develop patchy. The good news is that it isn't too hard to fix, but it's even easier to prevent by removing any lingering color before applying a fresh coat.
If you end up with some patches thanks to your old self-tan, or even from a fresh application, you can remedy the issue by creating a paste out of lemon juice and baking soda and using it as an exfoliant to help even out your glow. Some tanning brands also sell tan removers that are useful in prepping your skin for subsequent applications.
It's important that you're gentle with your skin to create an optimal canvas for your next self-tan application, so make sure you're taking your time to exfoliate properly and gently, especially when it comes to your face. You can, however, continue to apply your self-tan every other day to maintain your sunless glow.
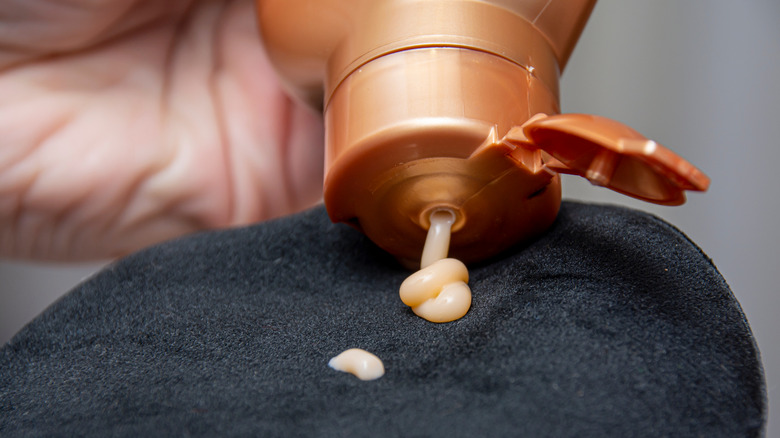
Skipping the glove and using your bare hands
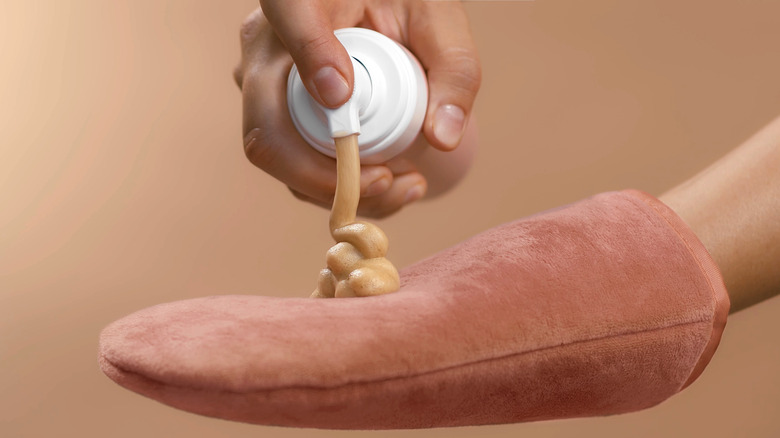
If you're still using your bare hands to apply your self-tanner, you are doing yourself and your tan a disservice. Not only will using your bare hands potentially result in stained fingers and palms, but you may not get as smooth an application.
Tanning mitts, velvet tanning towels, and even latex gloves will help keep your hands free of those tell-tale orange stains that can result after applying self-tanning lotion with bare hands. Tanning mitts allow for a more seamless application and streak-free results and allow you to cover more of your body evenly and consistently, especially if you are using a mousse formula.
They can even help you apply product to those hard-to-reach areas like your back and can cut your application time significantly. Although mitts are better than using your bare hands, you'll still want to wash your hands after using them to avoid any staining.
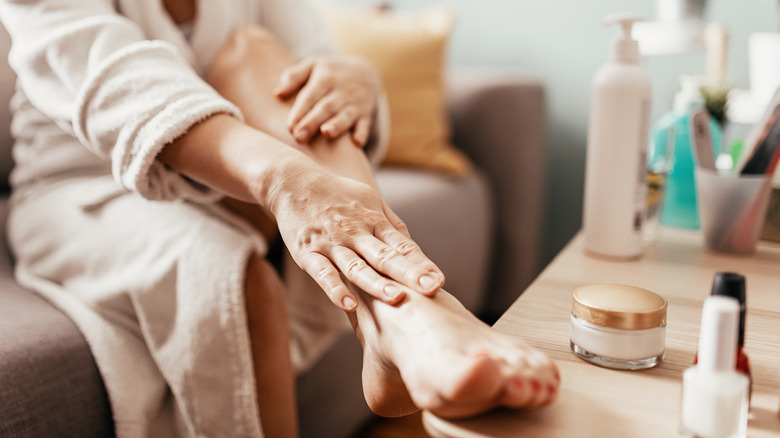
Not minding your hands and feet
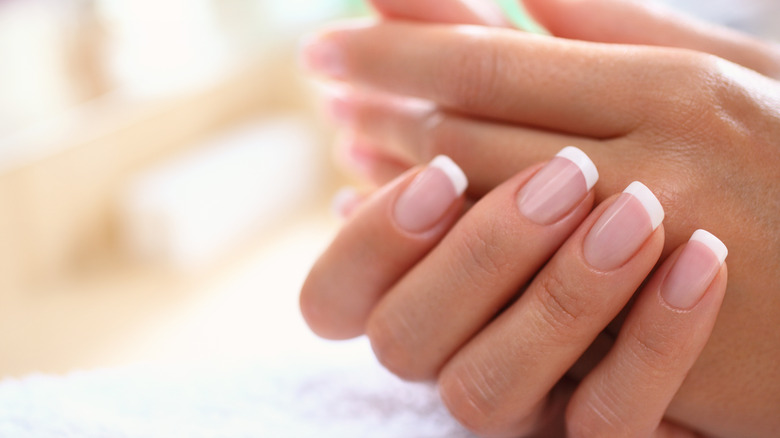
So how do you get your hands and feet tanned without ending up with those awful orange stains? We've already mentioned that using a tanning mitt will help protect your hands during the application, but you also don't want to walk around with patchy, overly-stained hands and feet if you use too much product or do it incorrectly.
"Hands and feet are the biggest giveaways of the fact that you've got fake tan on, so these are the areas you need to pay the most attention to," tanning expert Jules Von Hep told Beauty Crew. "If you do it right, your tan will look real." Since your hands and feet tend to be drier than the rest of your body, you'll want to ensure these areas are properly moisturized. "The biggest mistake people make is not moisturizing their hands and not moisturizing their feet beforehand," Von Hep notes.
You don't need a lot of self-tanner to give your hands and feet just the right glow, and using too much can lead to staining and patchiness. "Just use the tan that you already have on the rest of your body and sweep it down onto your hands, and that's more than enough product," Von Hep suggests. Since you want to avoid getting your skin wet after application, but you also want to ensure that your nails are cleaned to avoid staining, use a wet wipe to clean your fingernails, palms, and any areas between your fingers or toes that may have collected too much product.
Not letting your tan develop

To get the best results from your self-tanner, you're going to need to give your glow plenty of time to fully develop. This is not the type of process you can rush, so it's best if you prepare in advance. Just like with a spray tan from a salon, you're going to need to give your self-tan plenty of time to dry — at least 10 minutes — before getting dressed in loose-fitting clothing.
A self-tan can take anywhere from 6 to 10 hours to fully develop, so you'll want to dress comfortably and stay close to home during this time. You'll want to wear loose-fitting, darker items that won't show any unsightly stains that may rub off. Think of this as the perfect opportunity to indulge in some self-care or much-needed me-time!
During this time, you should skip the shower, gym, and any form of exercise that will make you sweat for at least 12 hours to avoid any streaks or patchy spots. Once in the shower, try to avoid shaving as long as possible, as that can contribute to your tan fading more quickly. You'll also want to rinse with cool or lukewarm water for that first post-tan shower and avoid using any scrubs or soaps.